Did you know? Asterisk supports various VoIP protocols, making it a versatile choice for IP telephony.
Welcome to the KingAsterisk Technology blog, where we will learn about open-source PBX and VoIP solutions In this comprehensive guide, we’ll walk you through the installation process of Asterisk. At the same time we empower you to create a strong and secure telephony system for your business.
Understanding Asterisk
Asterisk takes the lead in managing all things telephony, from calls to conferences, voicemails to custom applications. Whether it’s integrating with existing systems or creating new applications, Asterisk molds itself to suit your needs. Asterisk is the go-to choice for those who crave flexibility. It doesn’t tie you down; instead, it empowers you to tailor your communication system precisely how you want it. Whether you’re a small startup or an established enterprise, Asterisk grows with you.
Preparing Your Linux Server
Before diving into the Asterisk installation, ensure your Linux server is ready. We’ll guide you through the essential configurations and prerequisites for a smooth setup. Don’t worry; our team has got your back every step of the way!
Asterisk Installation Steps
Now, let’s start the installation journey. Follow our step-by-step guide, incorporating Asterisk configuration and SIP protocol setup for a seamless deployment. Buckle up, because we’ve got your back every step of the way.
Step 1: Getting Started
First things first, ensure your Linux server is prepped and ready. If you’re not sure where to begin, don’t worry – our team has crafted an easy guide to set the stage for a smooth Asterisk journey.
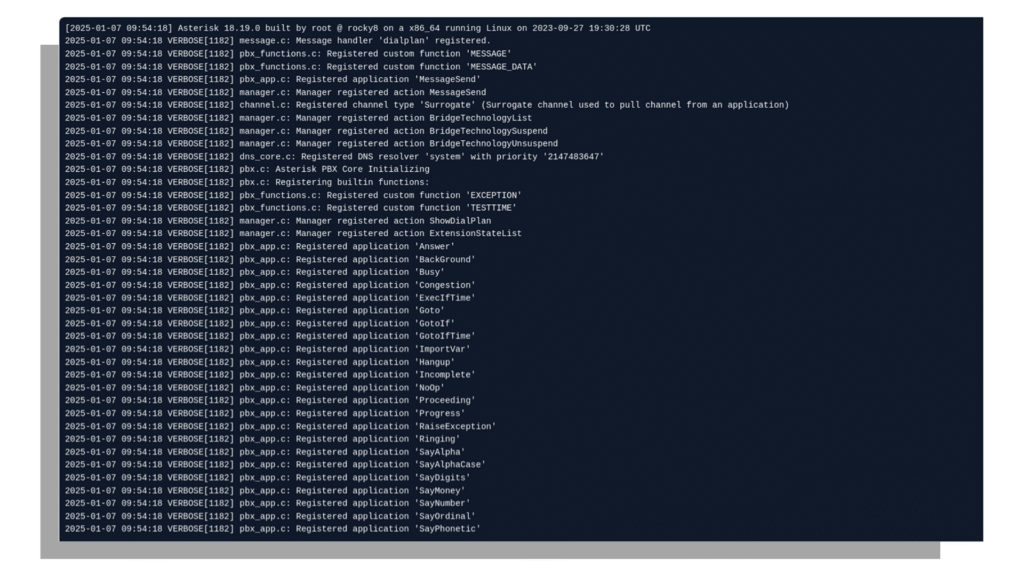
Step 2: Downloading Asterisk
Let’s kick off the installation by grabbing the latest Asterisk version. We’ll guide you through the download process, ensuring you get the right files to kickstart your telephony system.
Step 3: Configuration
Now comes the fun part – configuring Asterisk to suit your needs. Our step-by-step instructions will demystify the process, making sure you’re in control of your PBX setup.
Step 4: SIP Protocol Setup
SIP, the unsung hero of VoIP communication. We’ll walk you through setting up this crucial protocol, ensuring seamless communication over your newly installed Asterisk system.
Step 5: Testing, Testing
No installation is complete without a test run. We’ll guide you on how to check if everything’s working as it should. Your satisfaction is our priority.
The Future of VoIP Technology
Engage with our insights into the evolving VoIP Billing Software technology. Discover the trends and innovations shaping the future of internet telephony. Expect smoother interactions, crystal-clear calls, and seamless integrations that redefine the way you communicate within your business and beyond. Our team is at the forefront of integrating AI into VoIP solutions, promising efficiency and personalized experiences.
How Our Team Will Help?
Wondering why you should choose KingAsterisk? Well, we’re not just about installations; we’re about empowering you. Our dedicated team provides:
Expert Guidance
Clear, concise instructions from our seasoned experts.
24/7 Support
Got questions? We’re here, round the clock, ready to assist.
Custom Solutions
Tailoring Asterisk to meet your specific needs – because one size doesn’t fit all.
Conclusion
As you wrap up this guide, you’re now equipped to use the potential of Asterisk for powerful VoIP solutions. Whether you’re setting up a communication server or exploringcloud-based telephony systems, KingAsterisk is here to elevate your telecommunication experience.
Remember, the journey doesn’t end here – stay tuned for more insights and updates on Asterisk technology, exclusively from KingAsterisk. Reach out to our expert team today!